Table of Contents
Anthurium Pterodactyl Care Guide: The Hybrid Plant That Will Steal Your Heart
What is Anthurium Pterodactyl?
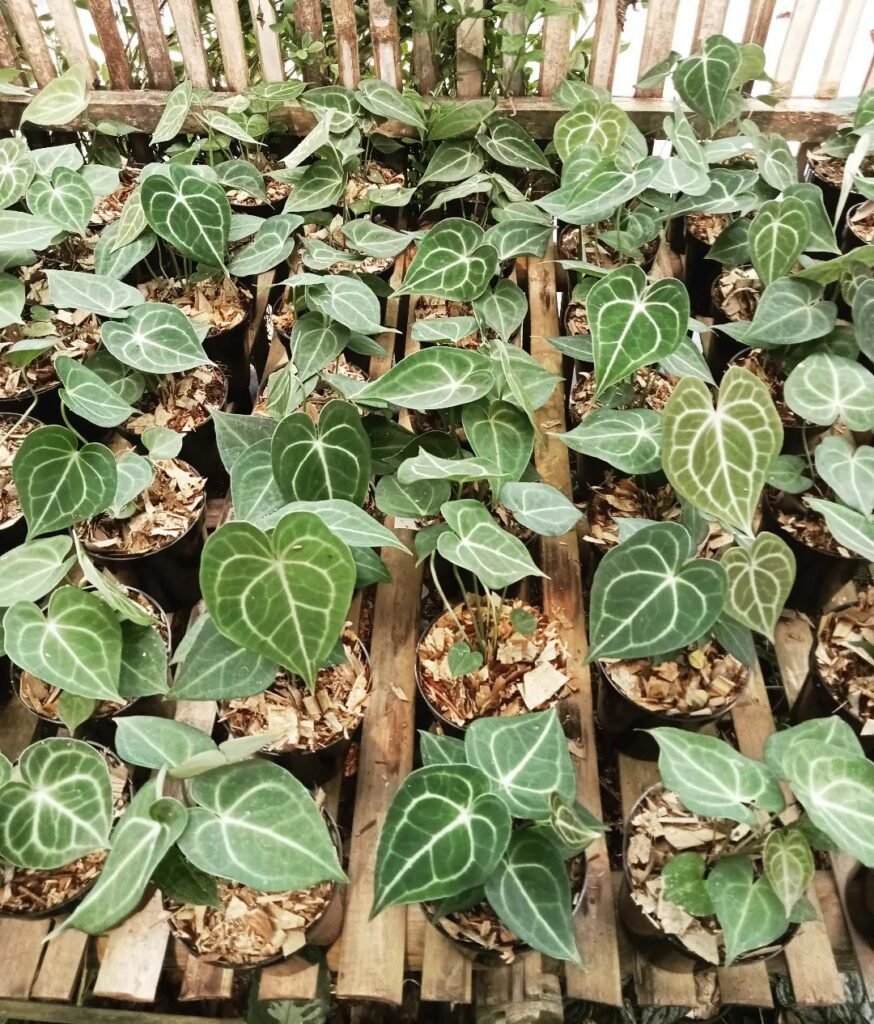
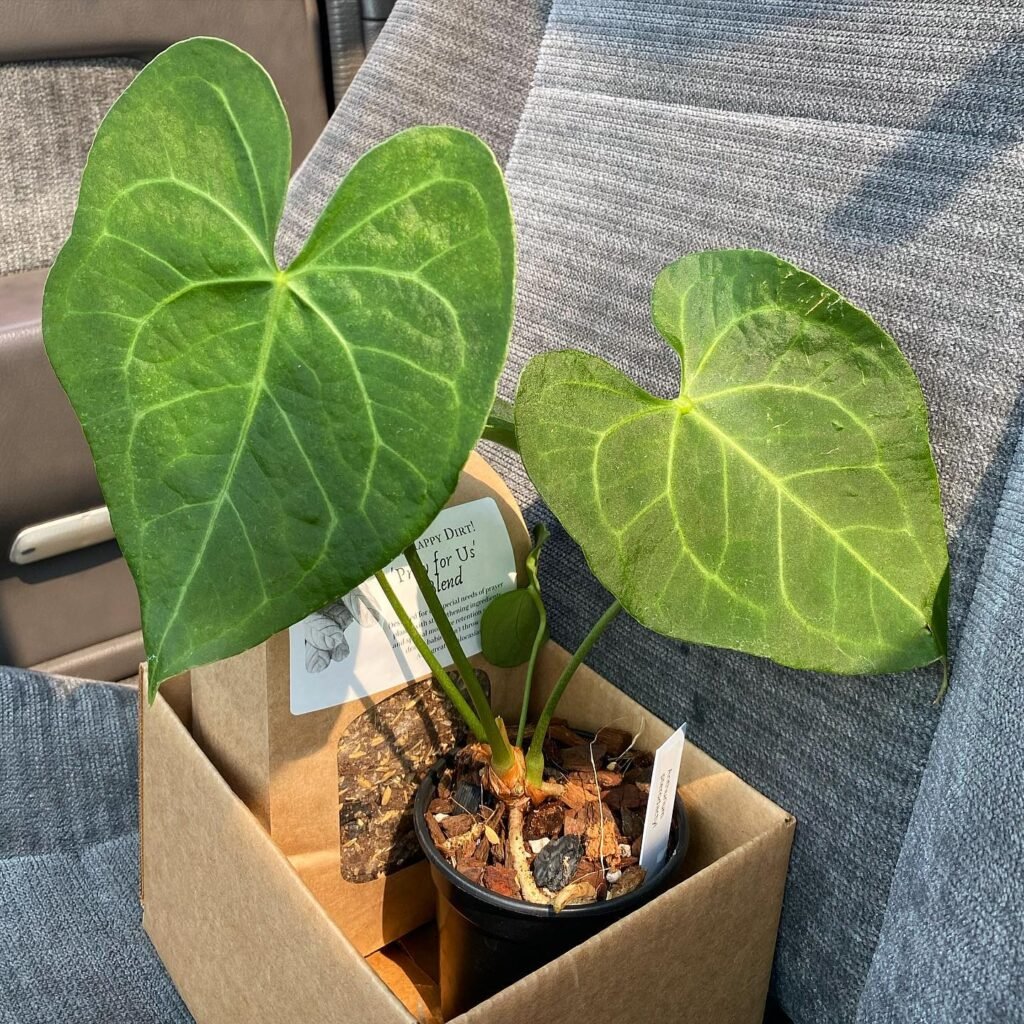
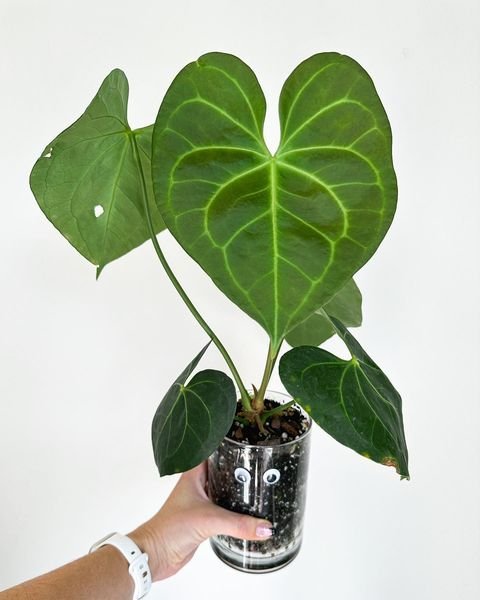
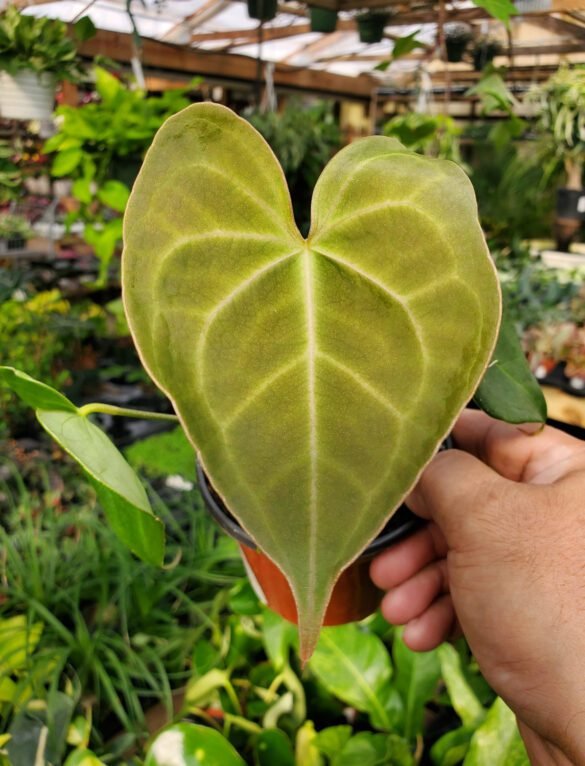
Anthurium pterodactyl is a stunning houseplant with heart-shaped leaves and prominent veins. It belongs to the aroid family, which includes many popular plants such as philodendrons, monstera, and peace lilies.
Anthurium pterodactyl is also known as Anthurium pedatoradiatum, which means “winged finger” in Latin, because of its unique leaf shape.
Introduction to Anthurium Pterodactyl Care
Anthurium pterodactyl is a hybrid plant that was created by crossing two different anthurium species: Anthurium clarinervium and Anthurium variegate. The exact origin and true parentage of this plant are unknown, but some guess that this plant was first developed in Thailand or Indonesia.
Anthurium pterodactyl is a relatively new plant in the market, so it may be hard to find in some nurseries or online shops. However, if you are lucky enough to get your hands on one, you will be rewarded with a beautiful anthurium that is easy to care for and propagate.
Key Takeaways
- Anthurium pterodactyl is easy to care for and propagate, as long as you provide it with the following conditions:
- Bright indirect light for at least 6 hours per day
- Regular watering when the top inch of soil feels dry
- High humidity of around 60-80%
- Well-draining soil mix that contains peat moss, perlite, vermiculite, or orchid bark
- Balanced liquid fertilizer once a month during the growing season
- Repotting every 2-3 years or when the roots outgrow the pot
Anthurium Pterodactyl: A Hybrid Plant
Anthurium pterodactyl is a hybrid plant that inherits some characteristics from both of its parents. It has deep green leaves with white veining, similar to Anthurium clarinervium, but its leaves are more elongated and pointed, resembling Anthurium variegate.
The leaves can grow up to 12 inches long and 6 inches wide, and they have a glossy and leathery texture. The plant also produces inflorescences, which are the flower-like structures that consist of a spathe (a modified leaf) and a spadix (a spike of tiny flowers).
The spathe is usually green or purple, while the spadix is white or yellow.
Anthurium Pterodactyl vs Clarinervium
Anthurium pterodactyl and Anthurium clarinervium are both attractive plants with heart-shaped leaves and prominent veins, but they have some differences that can help you distinguish them. Here are some of the main differences between them:

| Anthurium Pterodactyl | Anthurium Clarinervium |
|---|---|
| Leaves are more elongated and pointed | Leaves are more rounded and oval |
| Leaves have a winged appearance | Leaves have a flat appearance |
| Leaves are darker green | Leaves are lighter green |
| Veins are more white | Veins are more silver |
| Spathe is green or purple | Spathe is red or pink |
Is Pterodactyl easy to care for?
Anthurium pterodactyl is an easy to care for plant that does not require much attention or maintenance. However, it does have some specific needs that you should be aware of to keep it healthy and happy.
In this care guide, we will cover everything you need to know about how to propagate, water, light, fertilize, repot, and troubleshoot your anthurium pterodactyl.
How to Propagate Anthurium Pterodactyl?
One of the best things about anthurium pterodactyl is that it is easy to propagate and share with your friends or family. There are two main methods of propagating anthurium pterodactyl: from cutting or from division.
Basic Steps to Propagate Anthurium Pterodactyl
Before you start propagating your anthurium pterodactyl, here are some basic steps that you should follow:
- Choose a healthy and mature plant that has at least 4-5 leaves.
- Use a sharp and sterile knife or scissors to make the cut or division.
- Dip the cut end or the exposed roots in some rooting hormone or cinnamon powder to prevent infection and promote rooting.
- Prepare a pot with well-draining soil mix that contains peat moss, perlite, vermiculite, or orchid bark.
- Insert the cutting or the division into the soil and press it firmly.
- Water thoroughly and place the pot in a warm and humid place with bright indirect light.
- Keep the soil moist but not soggy until roots develop.
- Transplant the new plant into a bigger pot when it has enough roots and new leaves.
Propagating from Cutting
Propagating anthurium pterodactyl from cutting is a simple and effective way to create new plants. Here are the steps to propagate from cutting:
- Choose a healthy stem that has at least one leaf and a node (the point where the leaf attaches to the stem).
- Cut the stem about 2-3 inches below the node with a sharp and sterile knife or scissors.
- Remove the lower leaf and any flowers or buds from the cutting.
- Dip the cut end in some rooting hormone or cinnamon powder.
- Prepare a pot with well-draining soil mix and make a small hole in the center.
- Insert the cutting into the hole and press the soil around it.
- Water thoroughly and place the pot in a warm and humid place with bright indirect light.
- Keep the soil moist but not soggy until roots develop, which may take 4-6 weeks.
- Transplant the new plant into a bigger pot when it has enough roots and new leaves.
Common Mistakes While Propagating Pterodactyl
While propagating anthurium pterodactyl is easy, there are some common mistakes that you should avoid to ensure success. Here are some of them:
- Using a dull or dirty knife or scissors that can damage or infect the cutting or division.
- Cutting or dividing the plant when it is stressed, diseased, or dormant, which can reduce its chances of survival.
- Taking too long to plant the cutting or division after making the cut, which can cause it to dry out or wilt.
- Using a soil mix that is too heavy, compacted, or waterlogged, which can suffocate or rot the roots.
- Exposing the cutting or division to direct sunlight, cold drafts, or sudden temperature changes, which can burn or shock the plant.
Importance of Soil Mix and Well-Draining Pot for Propagation
One of the most important factors for successful propagation of anthurium pterodactyl is using a soil mix and a pot that provide good drainage and aeration for the roots. Anthurium pterodactyl does not like to sit in wet or soggy soil, as this can cause root rot and fungal infections.
Therefore, you should use a soil mix that contains peat moss, perlite, vermiculite, or orchid bark, which are materials that help retain moisture but also allow excess water to drain out. You should also use a pot that has drainage holes at the bottom and avoid using pots that are too big or too small for your cutting or division.
A pot that is too big can hold too much water and create stagnant conditions, while a pot that is too small can restrict root growth and cause nutrient deficiency.

What are the Ideal Conditions for Pterodactyl Care?
Anthurium pterodactyl is a tropical plant that thrives in warm and humid conditions. It also prefers plenty of bright indirect sunlight and regular waterings. In this section, we will discuss how to provide these ideal conditions for your pterodactyl care.
Anthurium Pterodactyl’s Light Requirements
Anthurium pterodactyl needs at least 6 hours of bright indirect light per day to grow well and produce healthy leaves and flowers. However, it does not tolerate direct sunlight, as this can scorch its leaves and cause them to turn yellow or brown.
Therefore, you should place your plant in a well-lit spot that receives filtered or diffused light, such as near an east-facing window or behind a sheer curtain. You should also rotate your plant every few weeks to ensure even growth and prevent leaning.
Watering Anthurium Pterodactyl
Anthurium pterodactyl likes to be watered regularly but not excessively. It prefers to have its soil moist but not wet, and it does not like to dry out completely between waterings. The best way to water your plant is to check the soil with your finger before watering. If the top inch of soil feels dry, then it’s time to water.
If it feels moist, then wait until it dries out a bit more. When you water your plant, water thoroughly until water drains out of the bottom of the pot. Avoid watering over the leaves or the flowers, as this can cause fungal diseases or rotting.
You should also empty the saucer under the pot after watering to prevent waterlogging.
The Role of Humidity in Anthurium Pterodactyl’s Care
Anthurium pterodactyl loves humidity and will benefit from a humid environment. Humidity helps keep the leaves hydrated and prevents them from curling or wilting. It also helps prevent pests and diseases that thrive in dry conditions.
The ideal humidity level for anthurium pterodactyl is around 60-80%, which is higher than most household humidity levels. Therefore, you may need to increase the humidity around your plant by using one or more of these methods:
- Use a humidifier near your plant to add moisture to the air.
- Mist your plant with water every few days using a spray bottle.
- Place your plant on a tray of pebbles filled with water. The water will evaporate and create humidity around your plant. Make sure the pot does not touch the water directly.
- Group your plant with other tropical plants that also need high humidity. They will create a microclimate that will benefit each other.
- Place your plant near a source of moisture, such as a sink, a shower, or a fish tank.
Preferred Soil Mix for Pterodactyl
Anthurium pterodactyl is not very fussy about its soil mix, as long as it is well-draining and airy. A well-draining soil mix will prevent root rot and fungal infections, while an airy soil mix will allow oxygen to reach the roots and promote healthy growth.
You can use a commercial potting mix that is designed for aroids or orchids, or you can make your own by mixing peat moss, perlite, vermiculite, or orchid bark in equal parts. You can also add some charcoal or crushed eggshells to improve drainage and pH balance.
Fertilizer Requirements of Anthurium Pterodactyl
Anthurium pterodactyl does not need much fertilizer, but it will appreciate some extra nutrients during its growing season, which is from spring to summer.
You can use a balanced liquid fertilizer that is diluted to half strength and apply it once a month. Alternatively, you can use a slow-release granular fertilizer that is sprinkled on the soil surface every 3-4 months.
Avoid using too much or too strong fertilizer, as this can burn the roots and leaves and cause nutrient imbalance.
How Often Should You Repot Anthurium Pterodactyl?
Anthurium pterodactyl does not need to be repotted very often, as it likes to be slightly root-bound and does not grow very fast. However, you may need to repot your plant every 2-3 years or when you notice any of these signs:
- The roots are growing out of the drainage holes or over the pot rim.
- The soil is compacted, waterlogged, or depleted of nutrients.
- The plant is wilting, yellowing, or dropping leaves despite proper care.
- The plant has outgrown its pot and looks crowded or unstable.
The Right Way to Repot Pterodactyl
When you decide to repot your anthurium pterodactyl, here are the steps to follow:
- Choose a new pot that is 1-2 inches larger in diameter than the current one. Make sure it has drainage holes at the bottom and is made of a breathable material such as terracotta or ceramic.
- Prepare a fresh batch of well-draining soil mix that contains peat moss, perlite, vermiculite, or orchid bark. You can also add some charcoal or crushed eggshells to improve drainage and pH balance.
- Water your plant thoroughly a day before repotting to make it easier to remove from the old pot.
- Gently remove your plant from the old pot by loosening the soil around the edges and lifting it out by holding the base of the stem. Be careful not to damage the roots or the leaves.
- Inspect the roots and trim off any dead, rotten, or diseased ones with a sharp and sterile knife or scissors. You can also divide your plant into smaller sections if you want to propagate it or reduce its size.
- Place some fresh soil mix at the bottom of the new pot and create a small mound in the center. Place your plant on top of the mound and spread its roots evenly around it. Fill in the gaps with more soil mix and press it firmly around the plant. The base of the stem should be at the same level as the soil surface.
- Water your plant thoroughly until water drains out of the bottom of the pot. Avoid watering over the leaves or the flowers, as this can cause fungal diseases or rotting. You should also empty the saucer under the pot after watering to prevent waterlogging.

Choosing the Right Pot for Your Pterodactyl
The choice of pot for your anthurium pterodactyl can affect its health and growth. Here are some tips on how to choose the right pot for your pterodactyl:
- Choose a pot that is 1-2 inches larger in diameter than the current one. A pot that is too big can hold too much water and create stagnant conditions, while a pot that is too small can restrict root growth and cause nutrient deficiency.
- Choose a pot that has drainage holes at the bottom and is made of a breathable material such as terracotta or ceramic. A pot that does not have drainage holes can cause waterlogging and root rot, while a pot that is made of plastic or metal can retain heat and dry out the soil faster.
- Choose a pot that matches your personal style and preference. You can choose from different shapes, colors, patterns, and designs that suit your taste and decor.
Common Problems While Repotting Pterodactyl
Repotting anthurium pterodactyl is not very difficult, but there are some common problems that you may encounter while doing so. Here are some of them and how to avoid or fix them:
- Damaging the roots or the leaves while removing the plant from the old pot. To prevent this, water your plant thoroughly a day before repotting to make it easier to remove from the old pot. Gently loosen the soil around the edges and lift it out by holding the base of the stem. Be careful not to pull or tug on the roots or the leaves.
- Overwatering or underwatering the plant after repotting. To prevent this, water your plant thoroughly until water drains out of the bottom of the pot. Avoid watering over the leaves or the flowers, as this can cause fungal diseases or rotting. You should also empty the saucer under the pot after watering to prevent waterlogging. Check the soil with your finger before watering again. If the top inch of soil feels dry, then it’s time to water. If it feels moist, then wait until it dries out a bit more.
- Exposing the plant to direct sunlight, cold drafts, or sudden temperature changes after repotting. To prevent this, place your plant in a well-lit spot that receives filtered or diffused light, such as near an east-facing window or behind a sheer curtain. You should also rotate your plant every few weeks to ensure even growth and prevent leaning. Avoid placing your plant near a heater, an air conditioner, a fan, or a window that can expose it to extreme heat, cold, wind, or frost.
Post Repotting Care for Pterodactyl
After you have repotted your anthurium pterodactyl, you should follow these post repotting care tips to help it adjust and thrive in its new home:
- Keep your plant in a warm and humid place with bright indirect light for at least 2 weeks after repotting. This will help it recover from any stress or shock caused by repotting and encourage new root growth.
- Reduce watering and fertilizing for the first month after repotting. This will prevent overwatering and nutrient overload that can harm your plant. Resume normal watering and fertilizing after a month or when you see new growth.
- Monitor your plant for any signs of pests, diseases, or deficiencies that may occur after repotting. If you notice any problems, treat them accordingly with organic or chemical remedies.
Frequently Asked Questions about Pterodactyl Care
Does Anthurium Pterodactyl Require Direct Sunlight?
No, anthurium pterodactyl does not require direct sunlight and will burn if exposed to it. It prefers plenty of bright indirect light that is filtered or diffused by a sheer curtain or a shade cloth.
How Often Should you Water a Pterodactyl?
You should water your pterodactyl when the top inch of soil feels dry to the touch. This may vary depending on the season, the climate, and the size of your pot, but generally, you should water your pterodactyl once a week in summer and once every 10-14 days in winter.
Is Perlite essential in the Soil Mix for Pterodactyl?
Perlite is not essential in the soil mix for pterodactyl, but it is highly recommended. Perlite is a volcanic rock that helps improve drainage and aeration in the soil mix. It also prevents compaction and waterlogging that can cause root rot and fungal infections.
What to Do if Your Anthurium Pterodactyl is Not Growing?
If your anthurium pterodactyl is not growing despite proper care, there may be several reasons for this:
- Your plant may be dormant or resting during winter or fall. This is normal and you should not worry about it. Just reduce watering and fertilizing during this period and resume normal care when spring arrives.
- Your plant may be root-bound or pot-bound and need to be repotted into a bigger pot with fresh soil mix. You can check if your plant is root-bound by looking at the bottom of the pot. If you see roots growing out of the drainage holes or over the pot rim, then it’s time to repot.
- Your plant may be lacking enough light, water, humidity, or nutrients to grow well. You can adjust these factors by placing your plant in a brighter spot, watering more frequently, increasing humidity around your plant, or applying some fertilizer.
How to Maintain the Heart Leaf of Pterodactyl?
The heart leaf of pterodactyl is one of its most attractive features and you should take good care of it to keep it healthy and beautiful. Here are some tips on how to maintain the heart leaf of pterodactyl:
- Wipe off any dust or dirt from the leaf surface with a damp cloth every few weeks. This will help keep the leaf shiny and prevent clogging of pores.
- Spray some water on the leaf every few days to increase humidity and prevent wilting or curling. You can also use a humidifier, a pebble tray, or a misting bottle to create a humid environment around your plant.
- Prune any dead, damaged, or diseased leaves with a sharp and sterile knife or scissors. This will help prevent the spread of pests and diseases and improve the appearance of your plant.
- Avoid touching or rubbing the leaf too much, as this can damage the leaf surface and cause it to lose its glossiness. You should also keep your plant away from pets or children who may chew or tear the leaf.
By following this care guide, you can enjoy your anthurium pterodactyl for many years and admire its beautiful heart leaf.


